Before you start
Use an activated connection and its assigned hostname, port, protocol, full username and proxy password. The proxy login is separate from the account used to sign in to the tool.
This walkthrough covers a regular browser profile. It follows the Browser → Create flow; desktop and web releases can use different labels. The interface images identify controls, not live proxy assignments.
What is Multilogin?
Multilogin manages isolated browser profiles with their own cookies, storage and fingerprint settings. A custom proxy supplies the profile’s network route.
- Isolated profiles
- Keep profile cookies, storage and browser settings separate.
- Desktop and web
- Create profiles in the workspace supported by your version. Install its required agent or browser components before launch.
- Team workspaces
- Share profiles and assign the roles available on your plan.
- Automation access
- Use the vendor’s supported automation APIs and browser libraries when your account provides access.
1. Create a browser profile
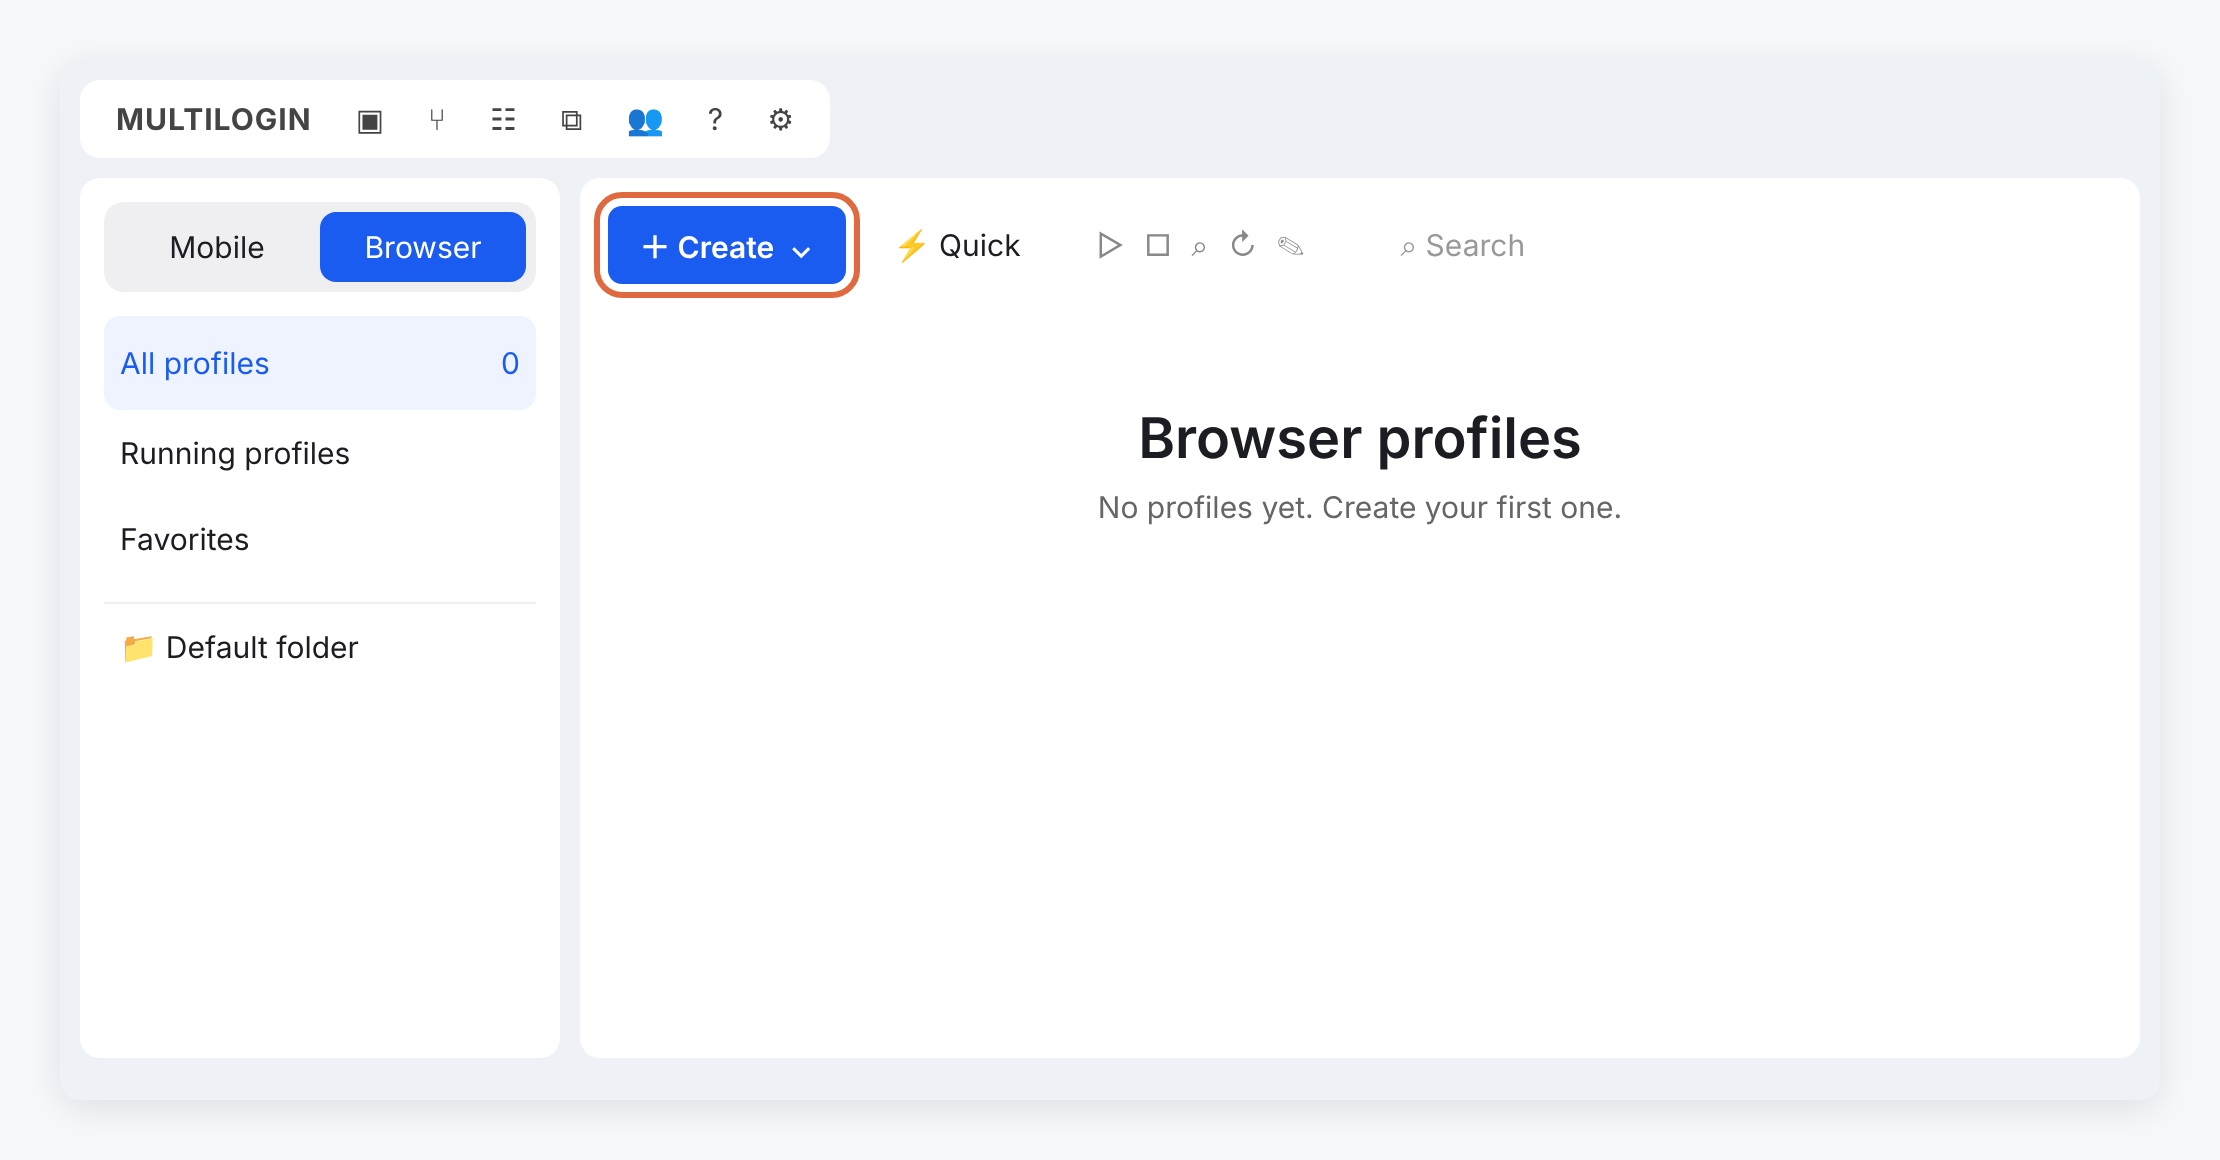
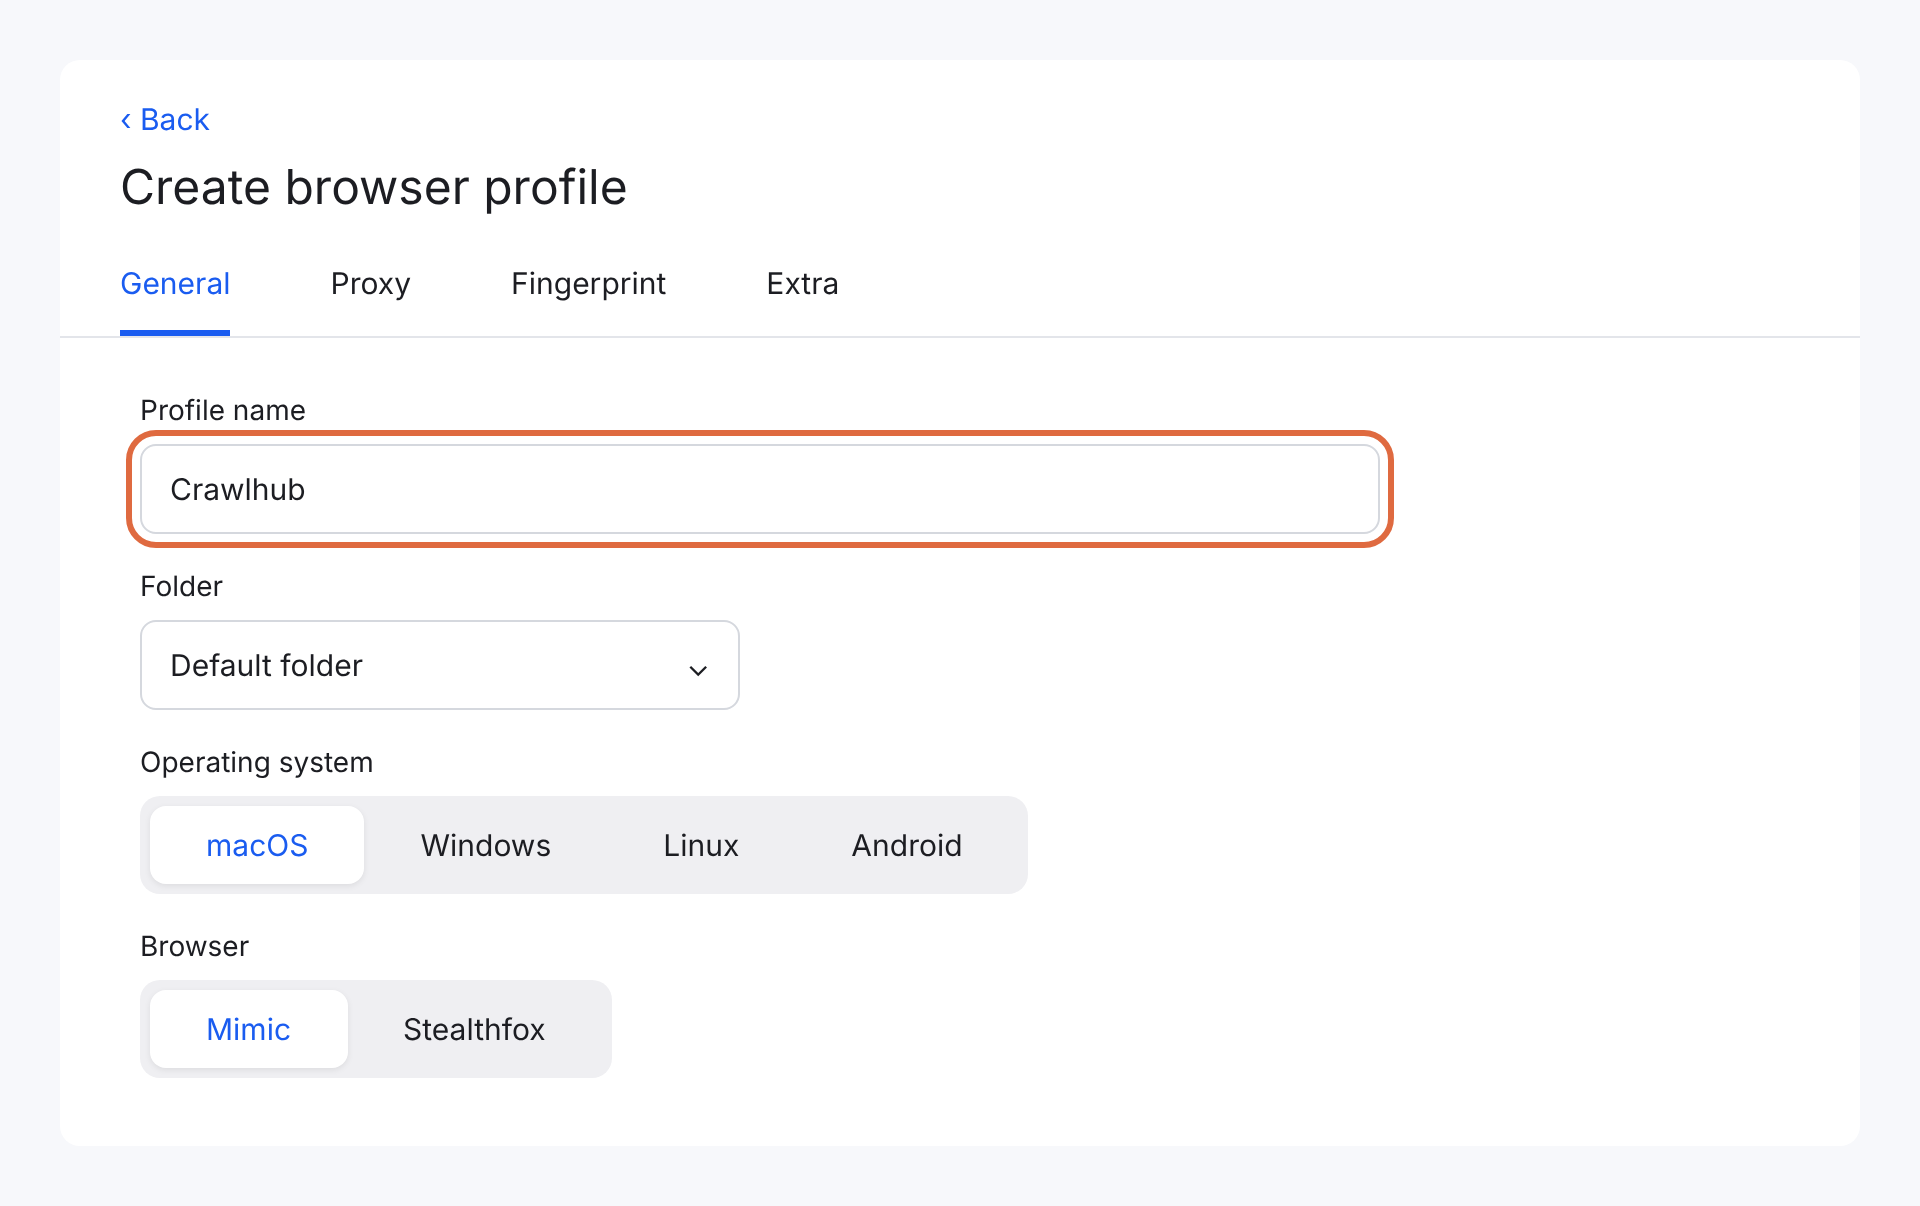
Sign in to Multilogin, select Browser and click Create. In General, enter a profile name such as Crawlhub.
Keep the OS and browser settings required by your workflow. The default values are suitable when you do not need a specific environment.
2. Add the custom proxy
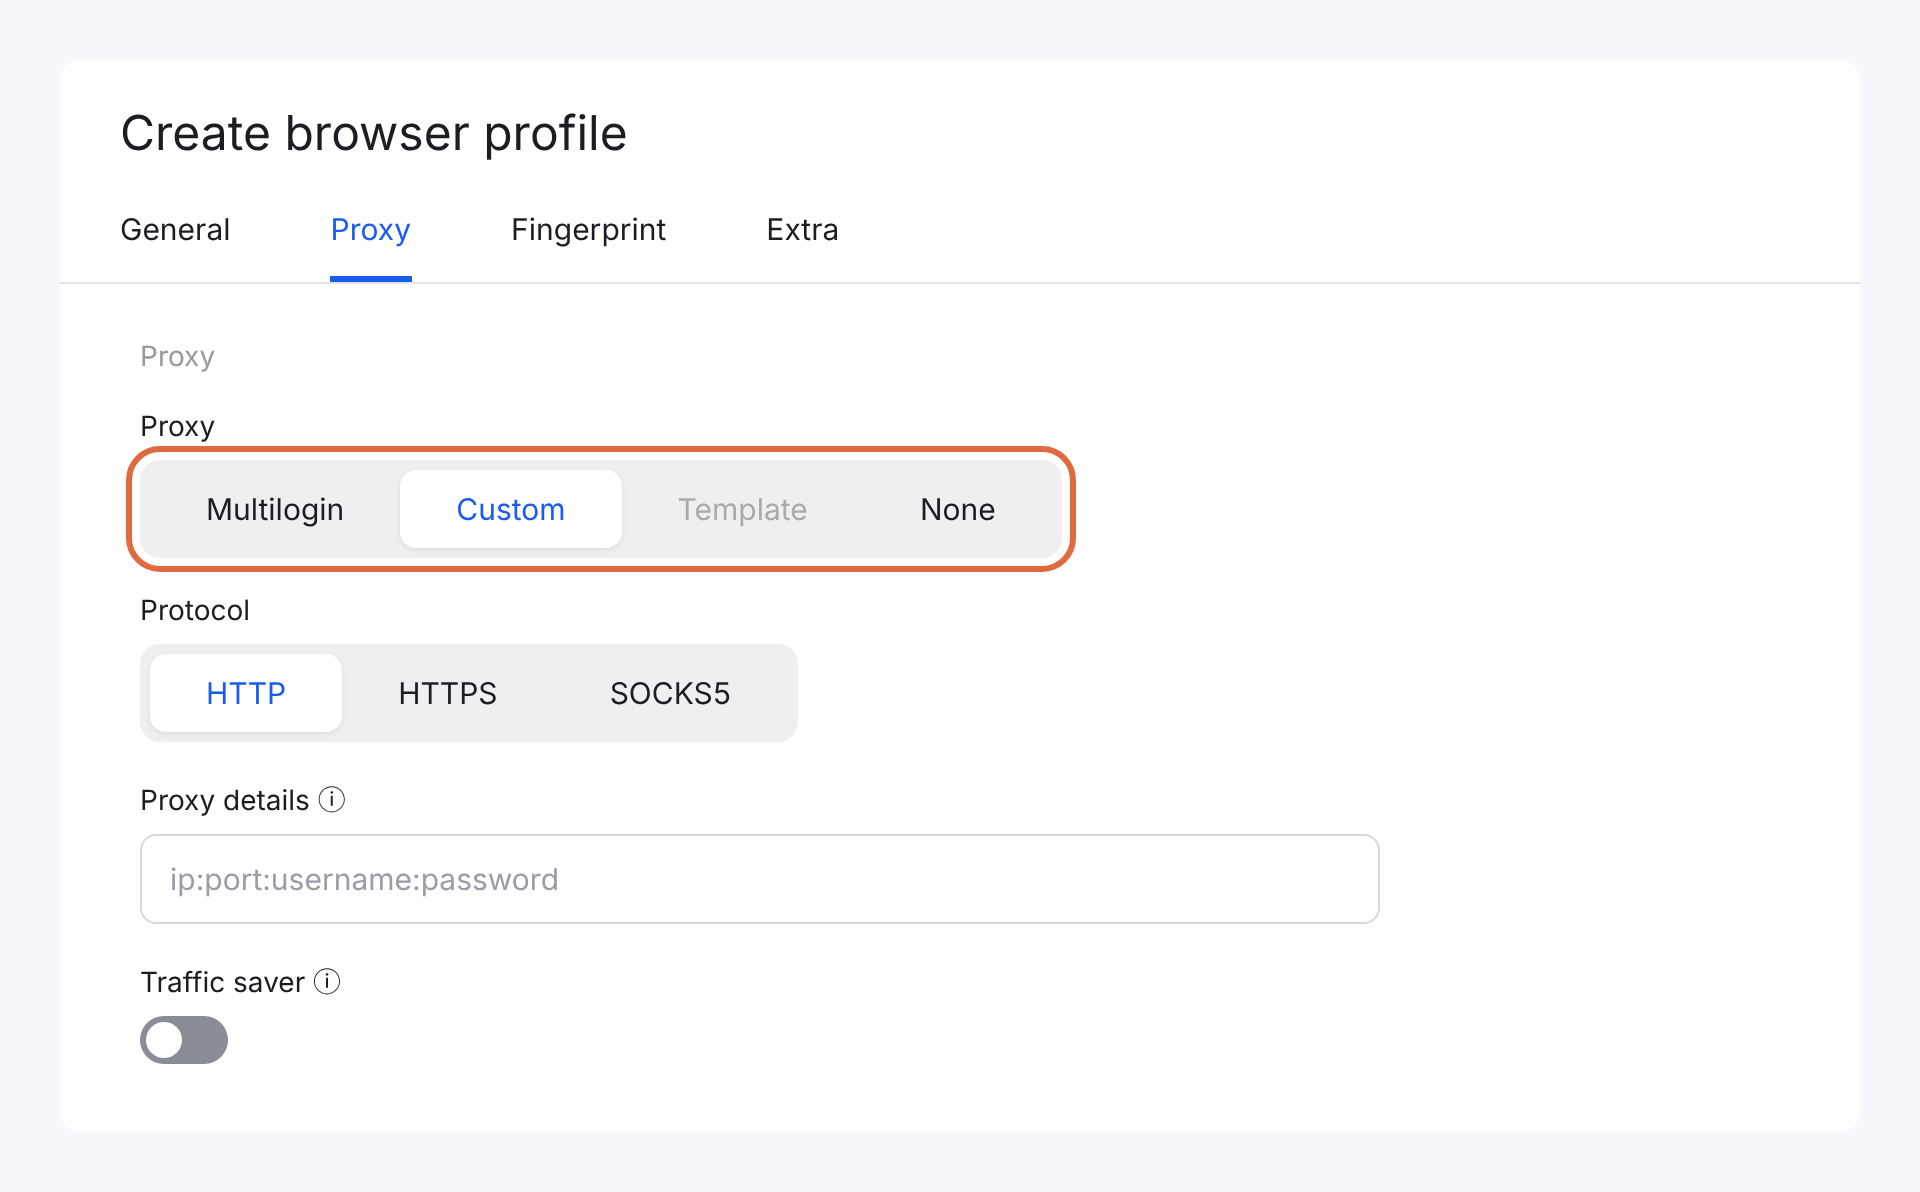
Open Proxy and select Custom. Choose HTTP, HTTPS or SOCKS5 to match the protocol assigned to your connection.
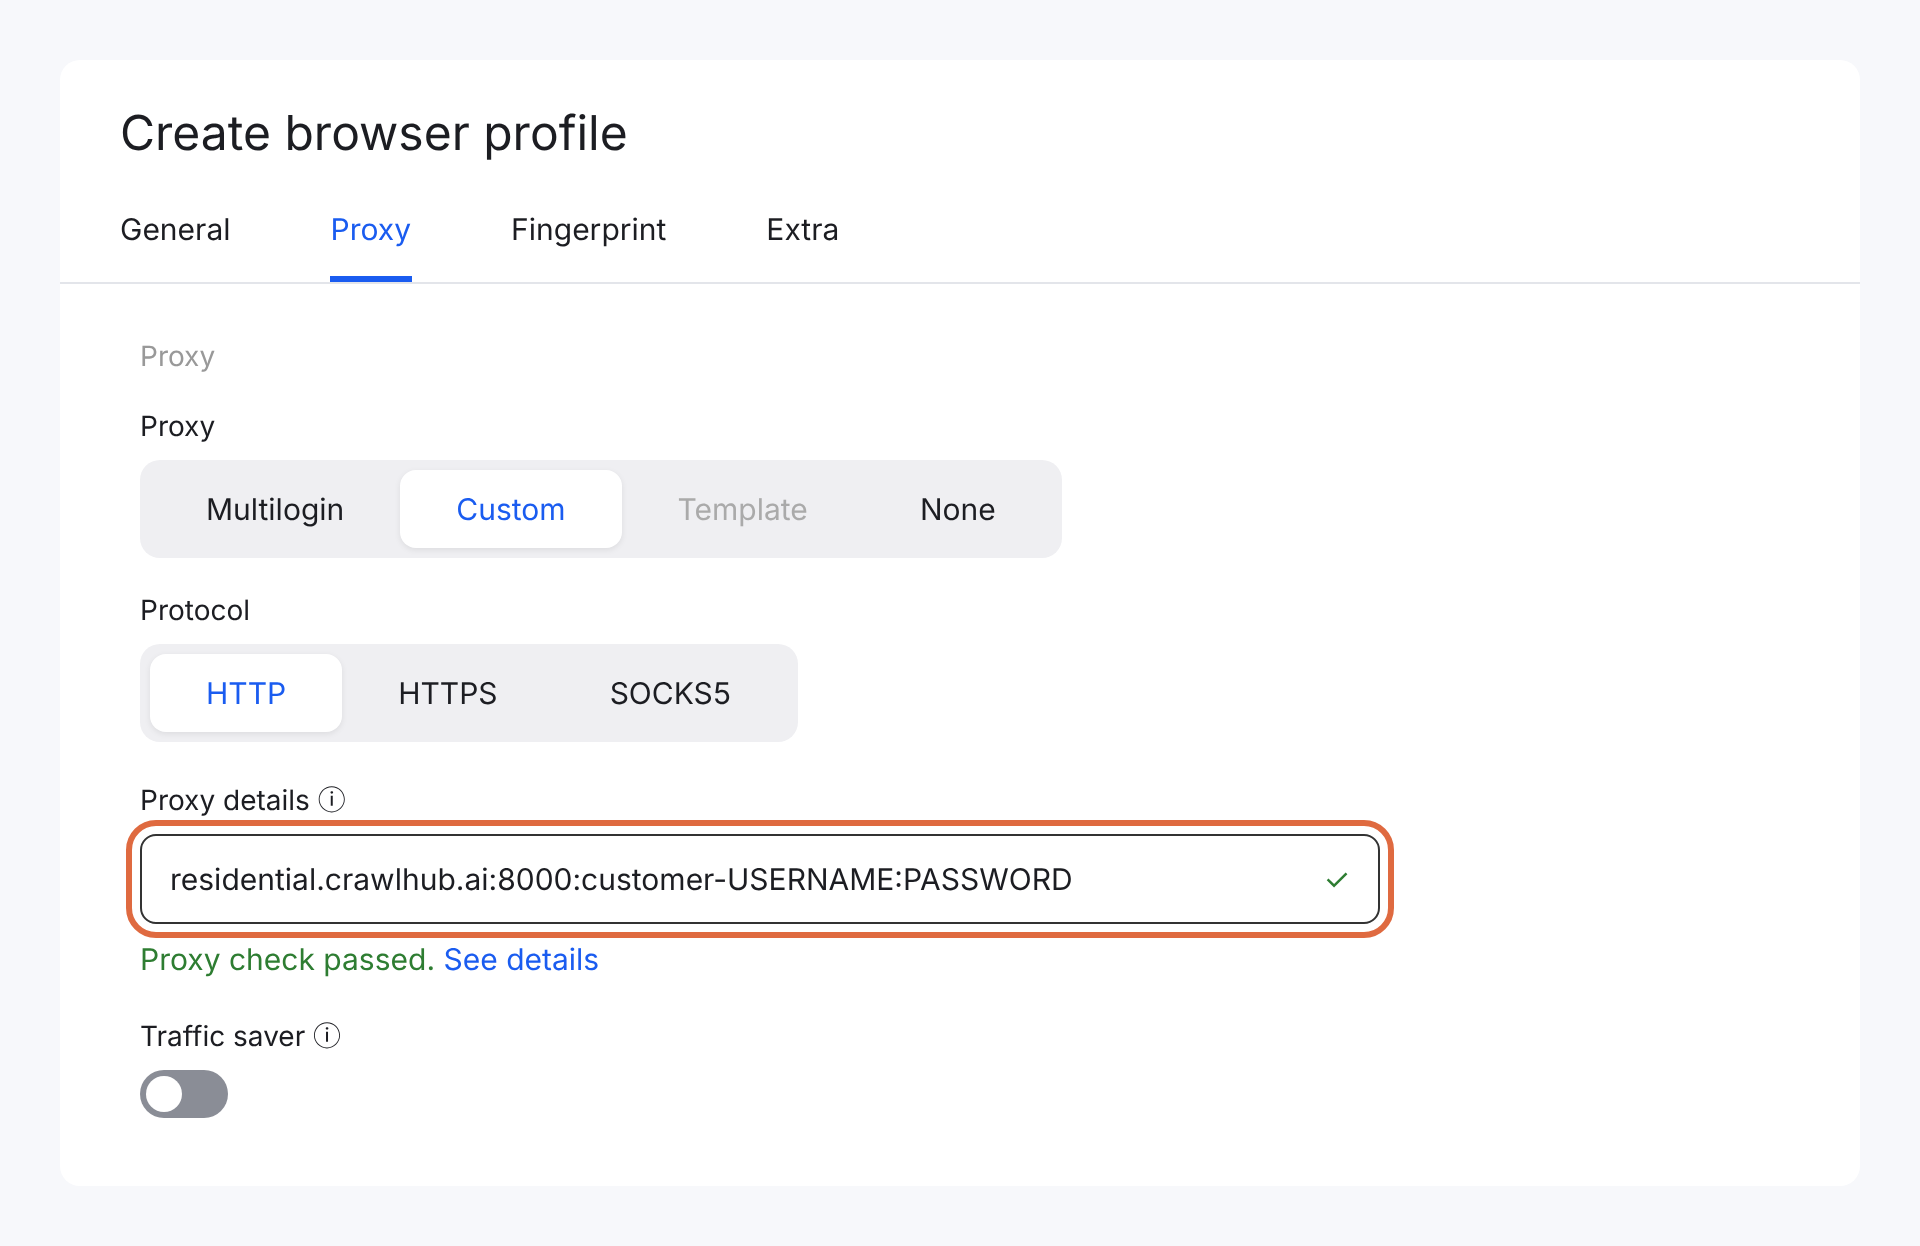
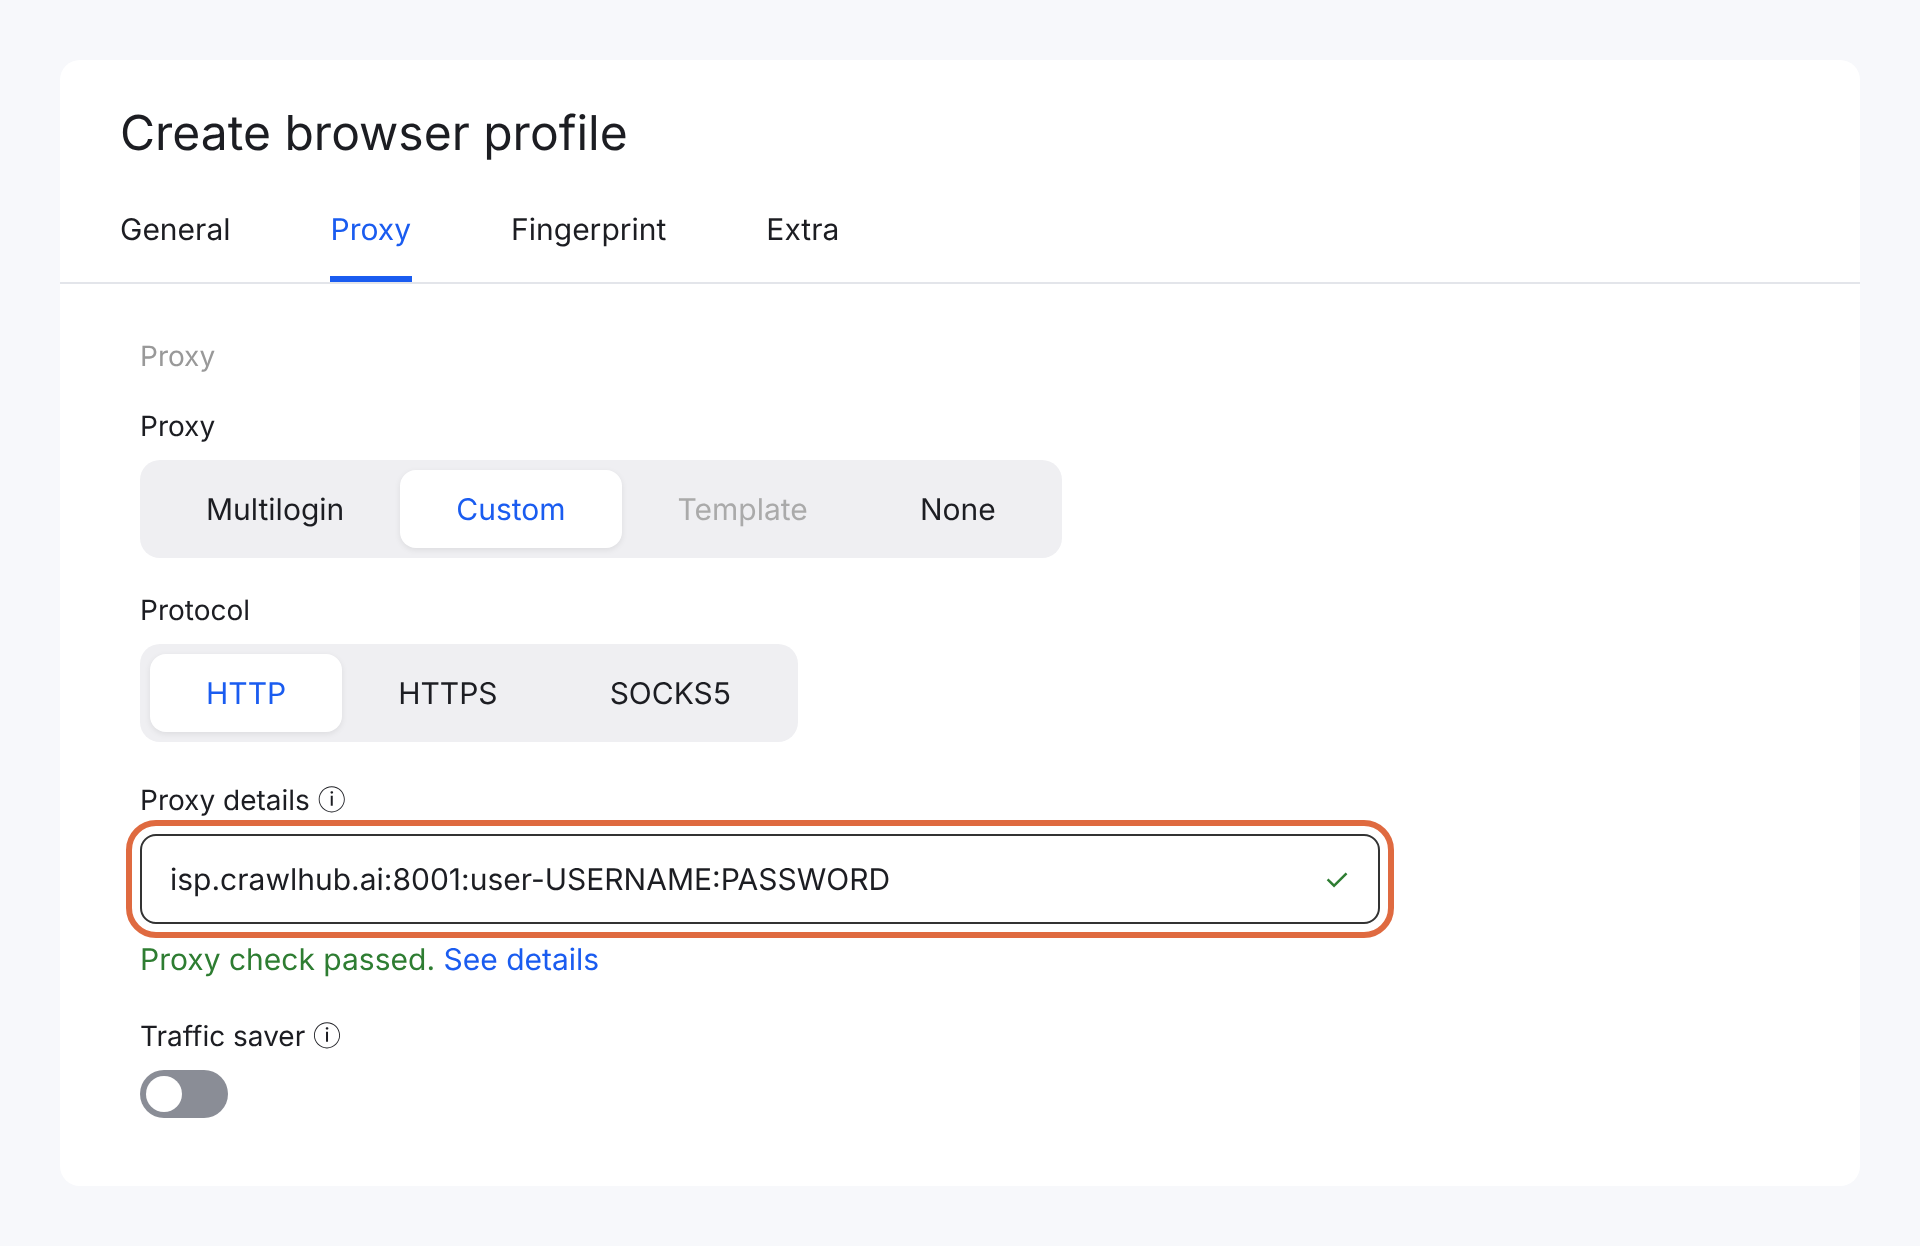
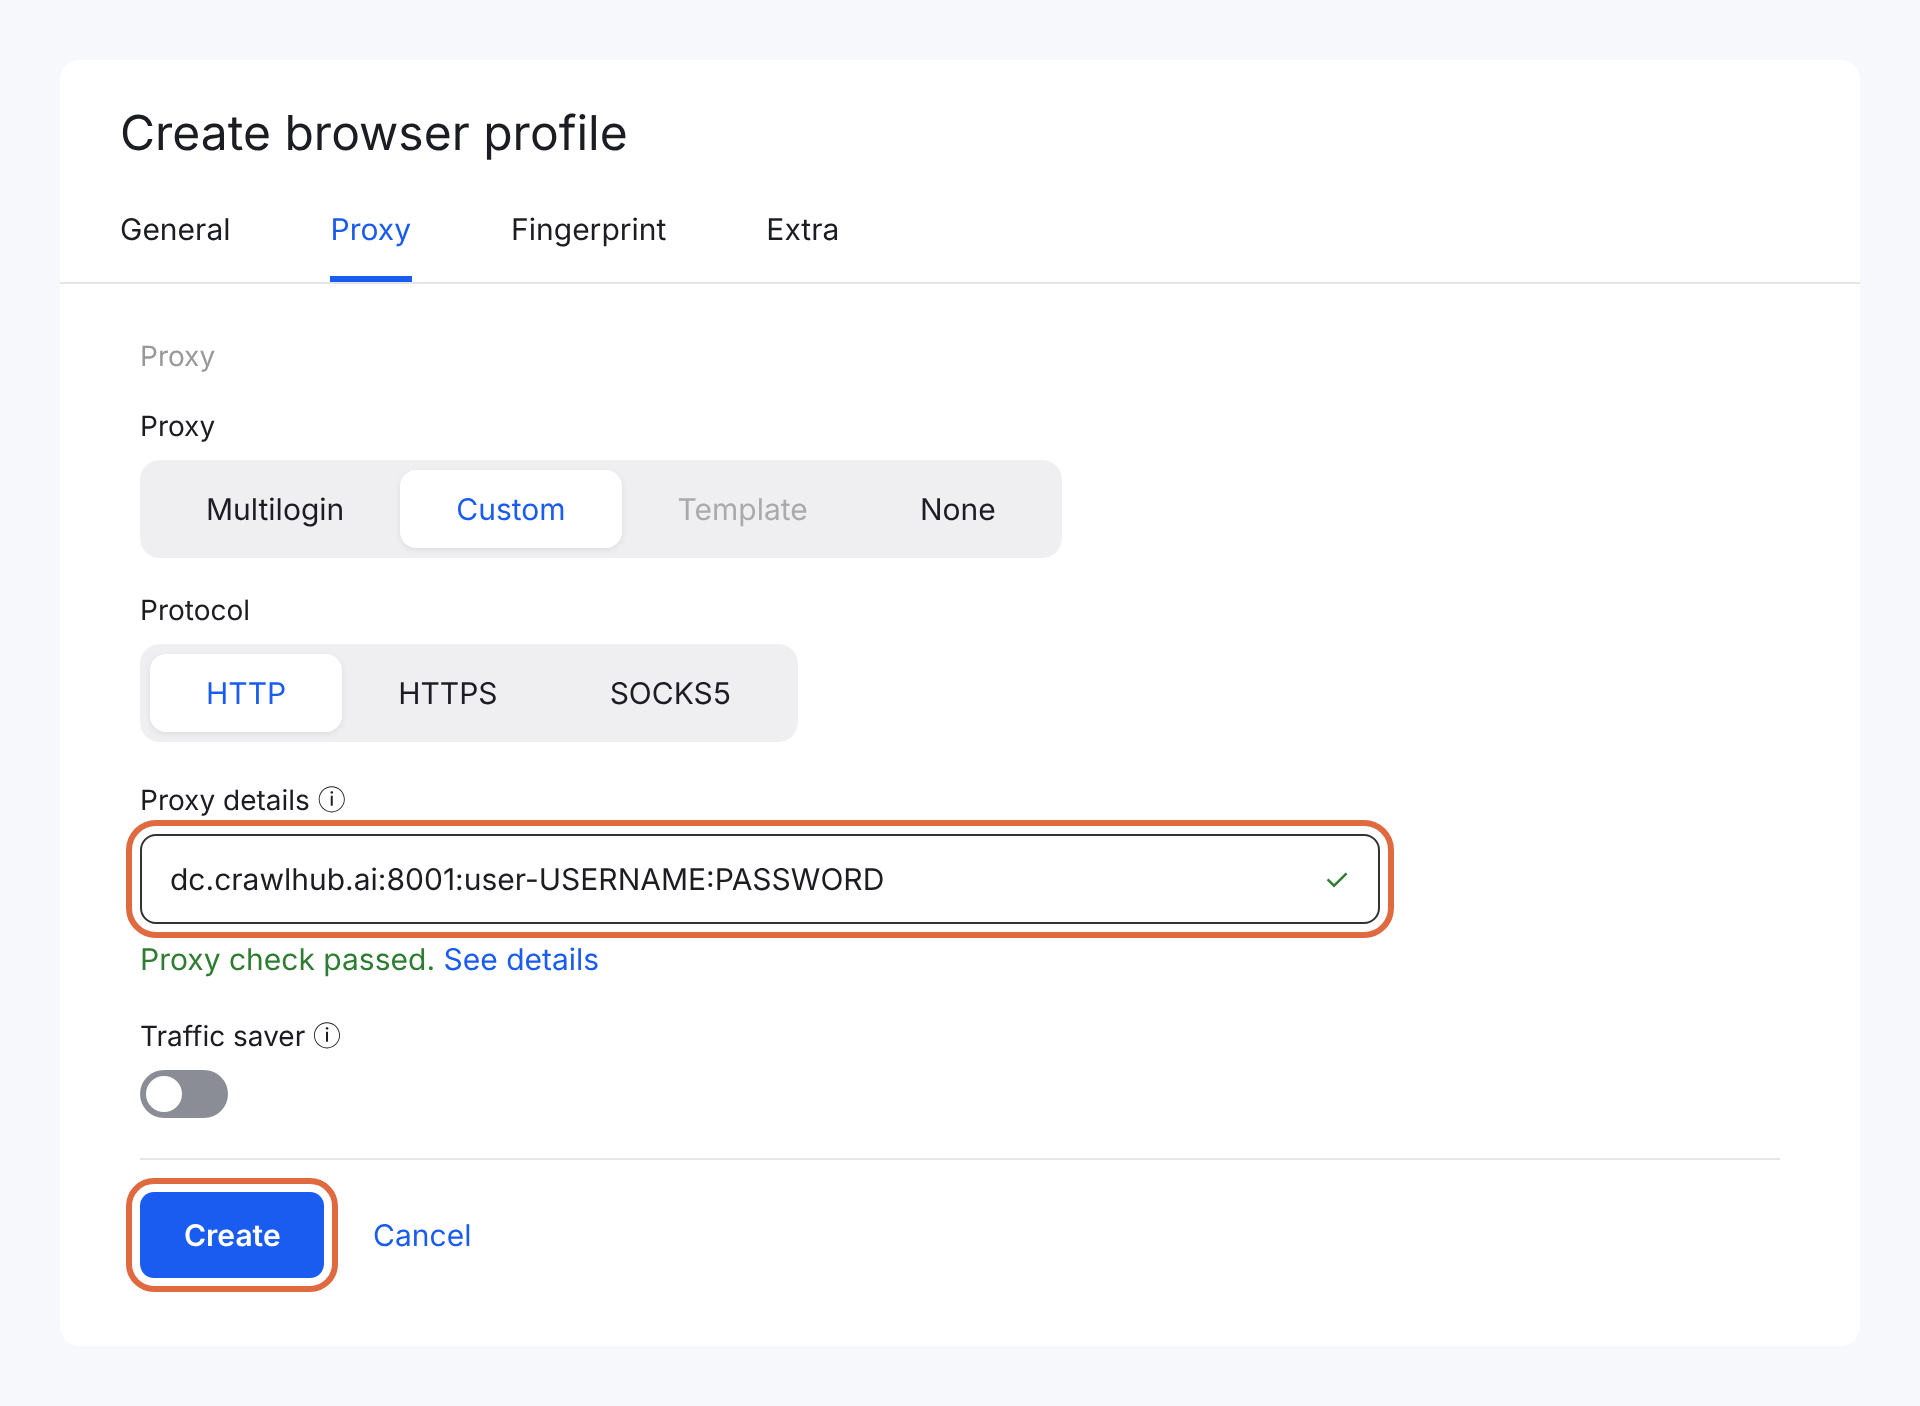
Paste the connection into Proxy details as HOST:PORT:USERNAME:PASSWORD, or use separate fields when your version offers them. Multilogin checks the proxy after you supply the details.
Copy the full assigned username. Enter raw credentials in separate fields; do not add another provider’s prefixes or targeting suffixes. If a password contains separators that the single-line importer cannot parse, use the vendor-supported input method rather than guessing an escape format.
| Connection field | What to use |
|---|---|
| Hostname | Assigned proxy hostname or IP, without a URL path |
| Port | Assigned port for this endpoint and protocol |
| Username | Full assigned username, including any configured targeting/session values |
| Password | Proxy password, not the browser-tool account password |
3. Check and save the profile
Inspect the proxy check result and reported location before saving. A passed check confirms connectivity, not permanent account separation.
Use Fingerprint to review user-agent, cookie or device settings if your workflow requires it, then click Create or save the existing profile.
4. Launch and verify the route
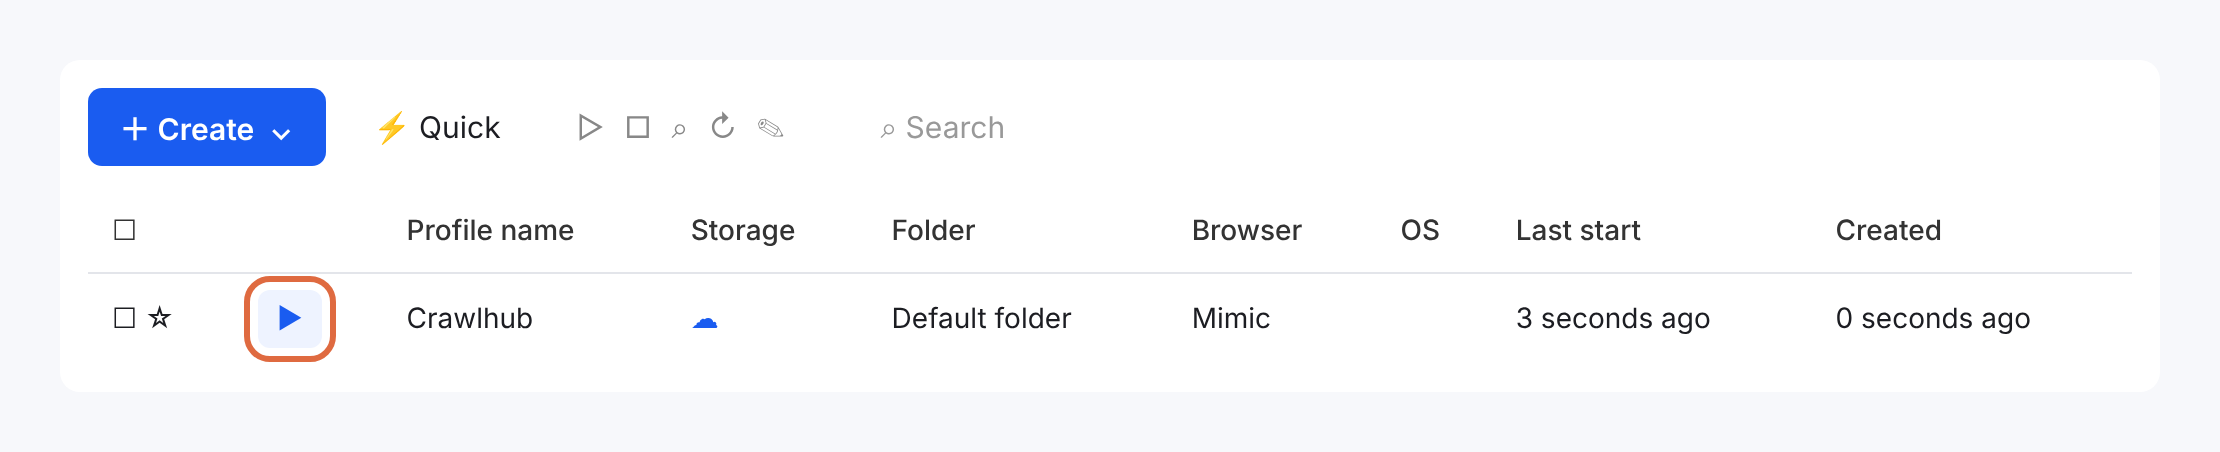
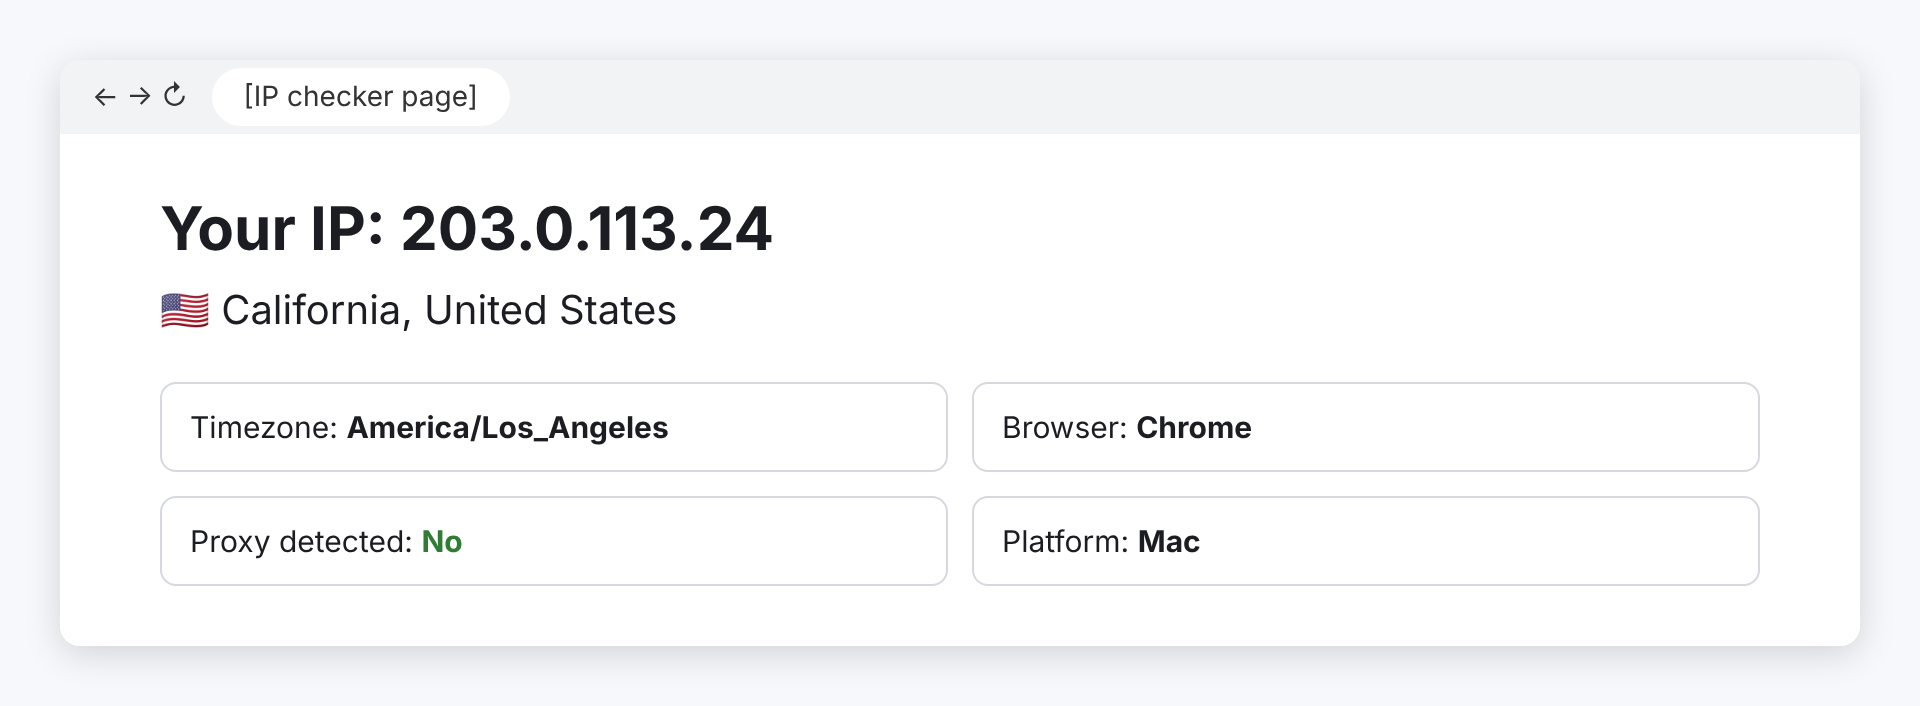
Use the play or start control beside the saved profile. Open an IP-check page inside that browser and compare its address and location with the intended connection.
For a stable profile route, use an assigned fixed IP or the intended sticky-session settings. A saved profile does not turn a rotating residential connection into a permanent IP.
Troubleshooting
Proxy check failed
Recheck protocol, host, port and the full proxy login. Do not substitute your Multilogin account password.
Profile will not launch
Confirm that the local agent or browser component required by your release is installed and running.
IP changes between runs
Review allocation and session settings. Profile isolation does not guarantee a fixed exit address or that accounts cannot be associated.